How to create a GDPR consent form
When the GDPR came into force, everyone was pretty confused as to what would be the impact of the new data protection law. Companies still had many questions unanswered and feared the GDPR’s fines for non-compliance. Now, after almost 2 years since the law was enforced, on May 25, 2018, the regulation has become a model for many national laws outside the EU, including Chile, Japan, Brazil, South Korea, Argentina, Kenya, and the state of California (U.S.A). Businesses have since then made considerable efforts to adopt the regulation and get on with business as usual.
Why is GDPR relevant?
In the current digital age, data helps to define us. The EU took up the GDPR in an attempt to address the increasing concerns regarding how citizens control their data, to harmonize the different laws and directives in all the EU’s 28 member nations, and to safeguard European citizens from the impending destructive outcomes of both identity and data theft. Although not everyone can be a GDPR compliance specialist, that doesn’t mean that you should overlook data protection and privacy regulations, especially if you run a business. If your business collects data, you’ll need to have a purpose to use and save it.
So, does your company need a GDPR software?
Essentially, all websites, platforms, and apps collect personal data, even if it’s only your name, email, or phone number.
So, you must let users know why they are providing their data.
Also, let me tell you that, every company is dealing with the GDPR in their way. Because there is no “book” to follow, you just have to see what works for your business.
However, companies benefit from implementing a GDPR software to help them inform users about all the policies, cookies, terms and conditions, third parties, and any other information related to the processing of personal data.
There are 2 ways to comply with the GDPR:
- With HTML, CSS, and Javascript
- With GetComplied’s platform
Method 1 – HTML, CSS and Javascript
- Go to BackOffice from your website, you can do so using FTP or SSH.
- Edit your website homepage (usually called index).
- Paste the following code within the <head> tag to create style.
And paste the following code immediately before </body>.
- Test on your website
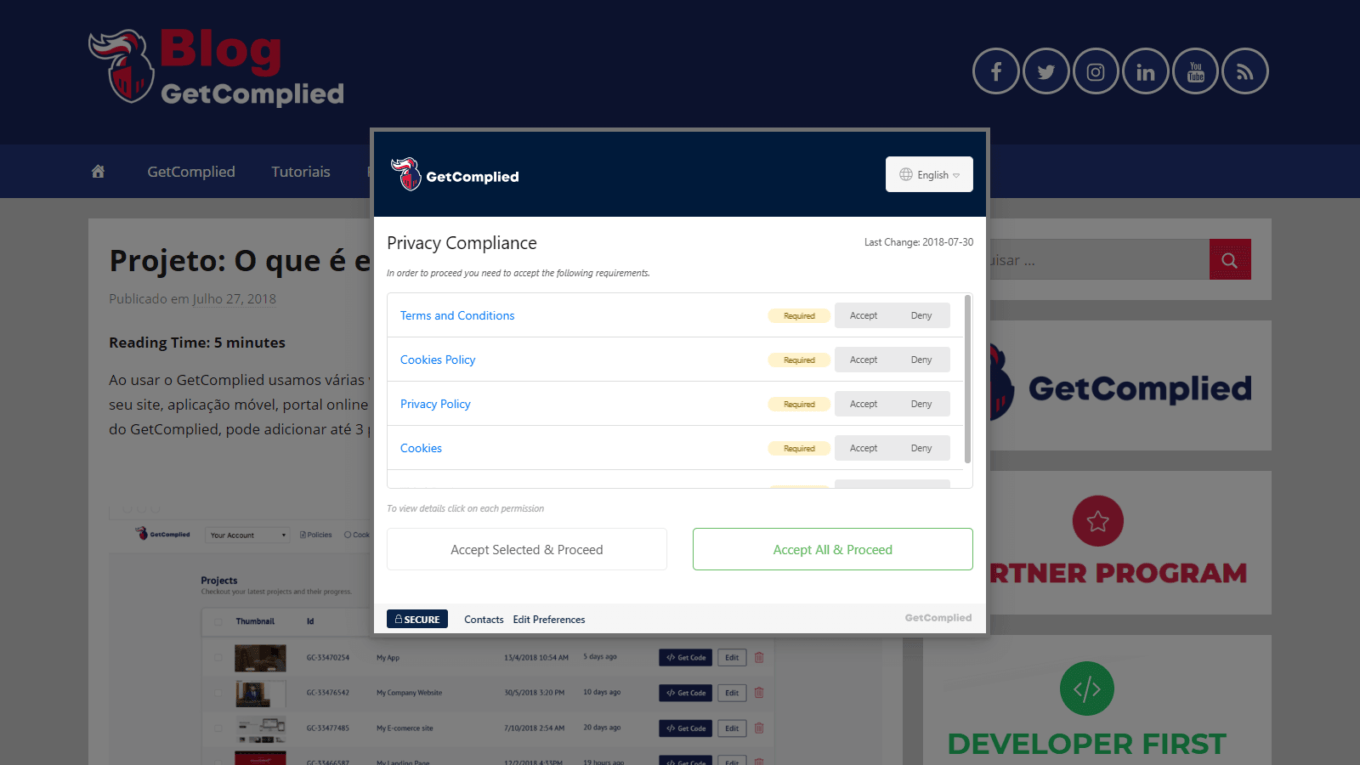
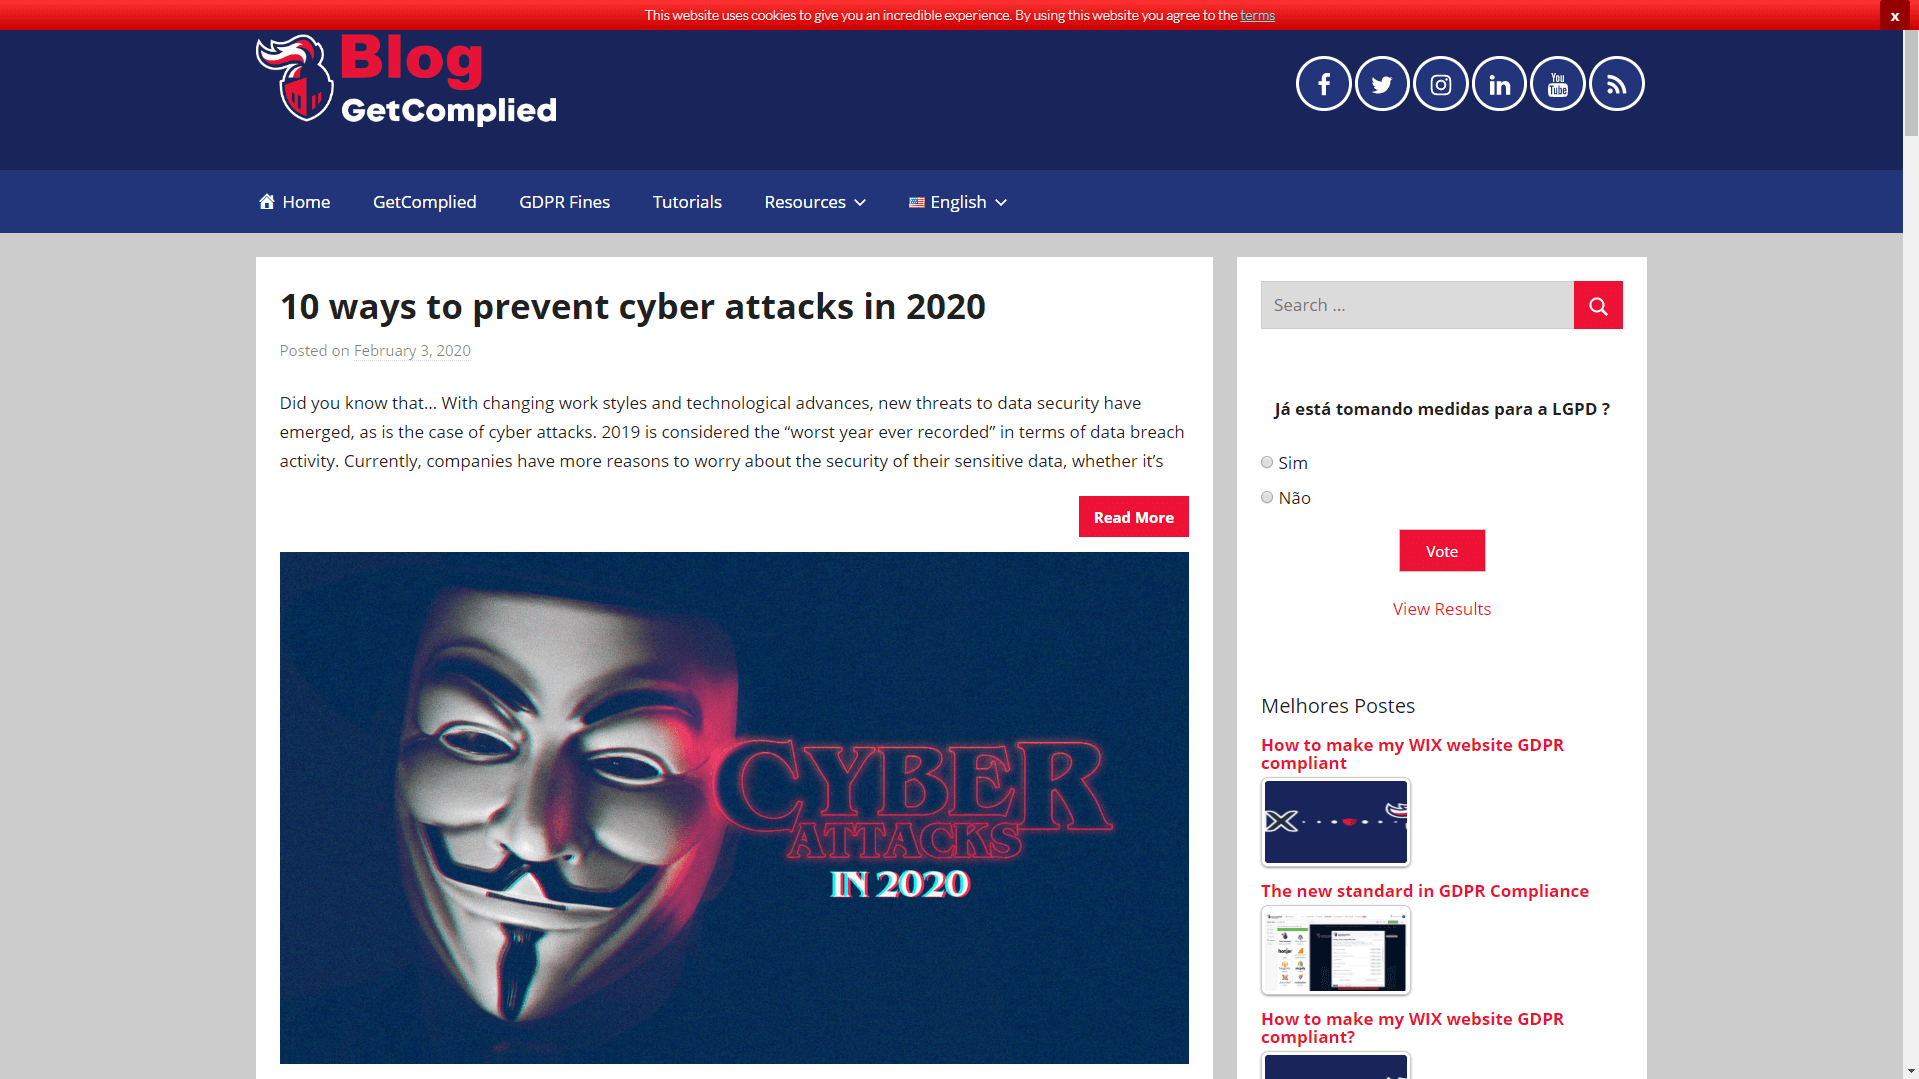
Note: This bar only informs you of the use of cookies, it doesn’t block them if the user chooses not to accept them.
The end result should look like the example below:
Did you think it would give you that much trouble? Are you even more confused?
We don’t want to complicate your life anymore!
Now, why not try GetComplied’s platform?
Method 2 – GetComplied
First, learn a little about GetComplied’s history.
GetComplied was developed to fill a market gap and provide a reliable response to a growing problem. GDPR laws aren’t linear, which makes it difficult for companies to find answers on their own. But, with GetComplied, companies aren’t alone. They can comply with the law in a more accessible way.
We currently operate in more than 30 countries, with more than 4,000,000 compliances, and these figures are only growing.
We intend to educate society about the GDPR and show that it’s possible to fully comply with this law, with fewer costs and efforts.
How it works…
GetComplied fits into your website, app, portal, landing page, or smooth software. It is dynamic, responsive and can be customized with your company’s logo and colors.
It’s very easy to start using GetComplied to comply with the GDPR. Let’s get started!
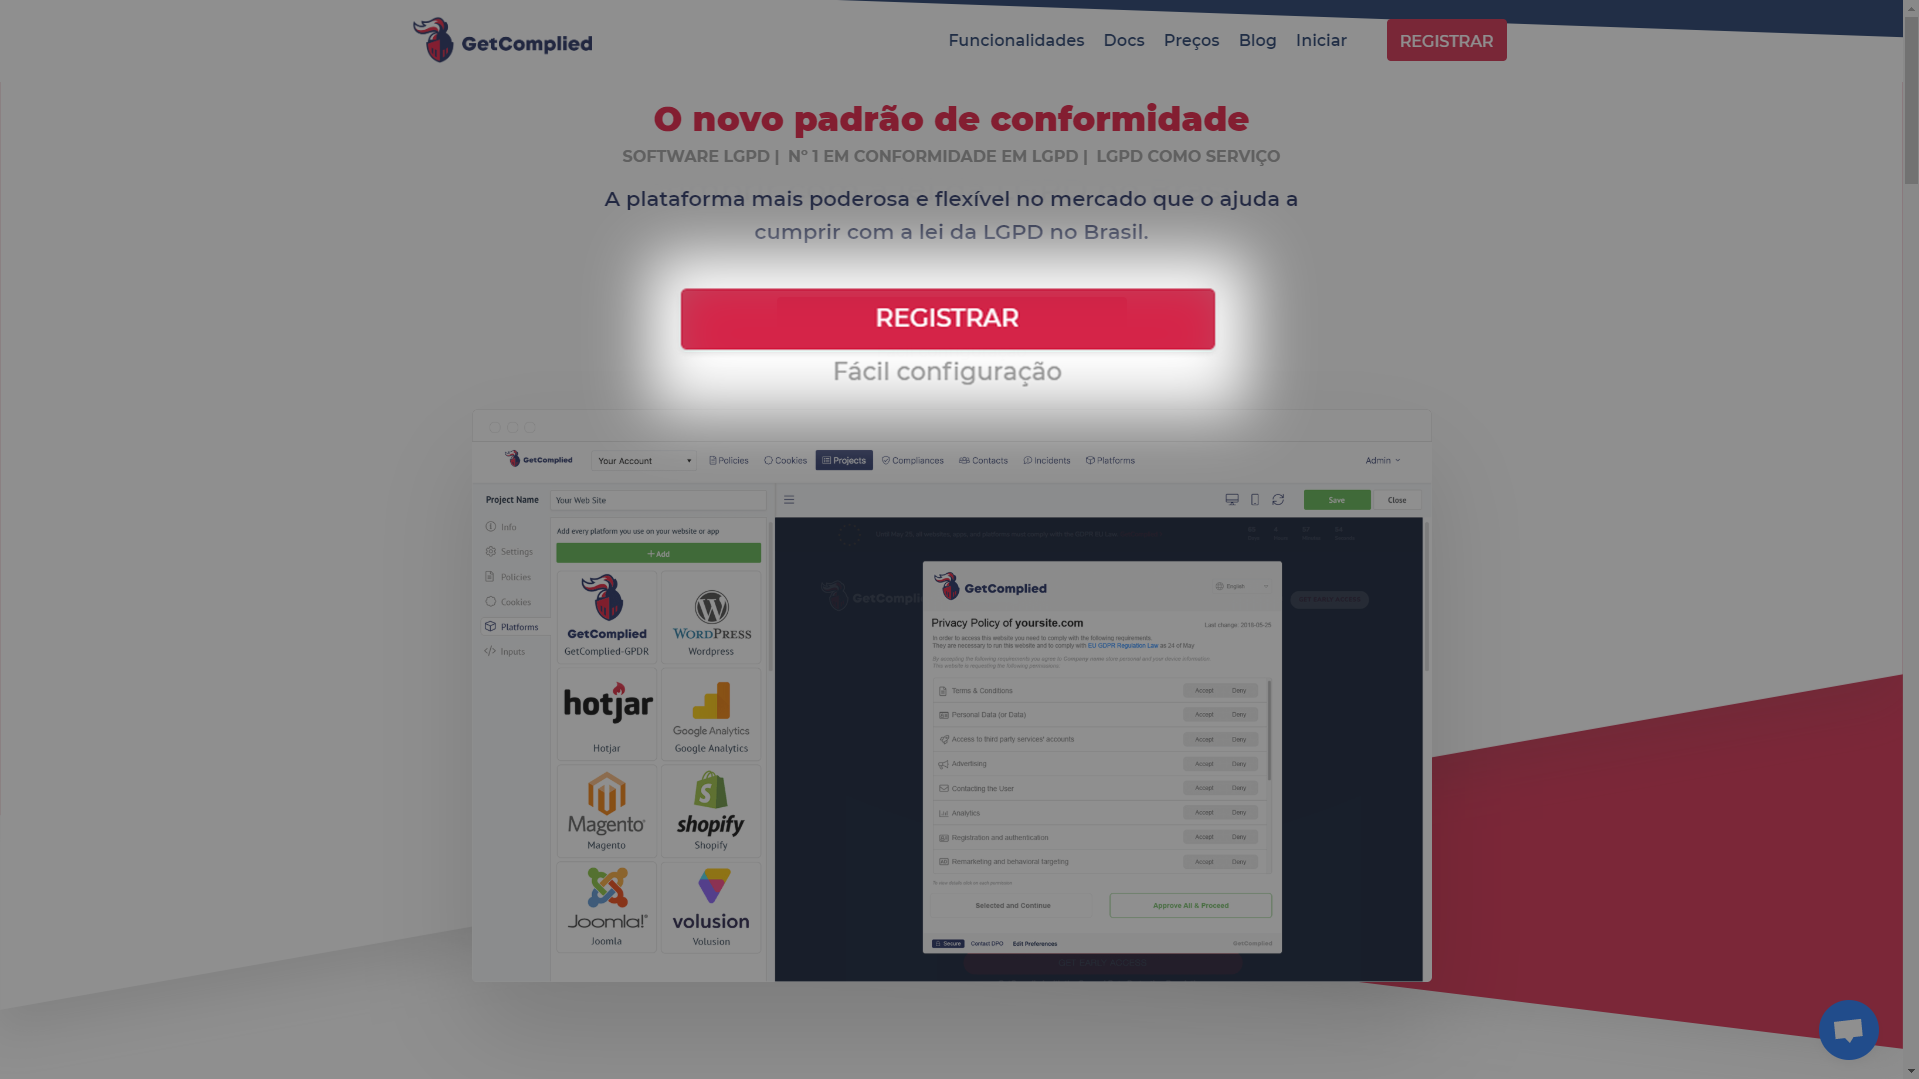
1 – Create an account
First, go to Create Free Account and register for free.
2 – Add your projects
In the projects section (1) click the new button (2).
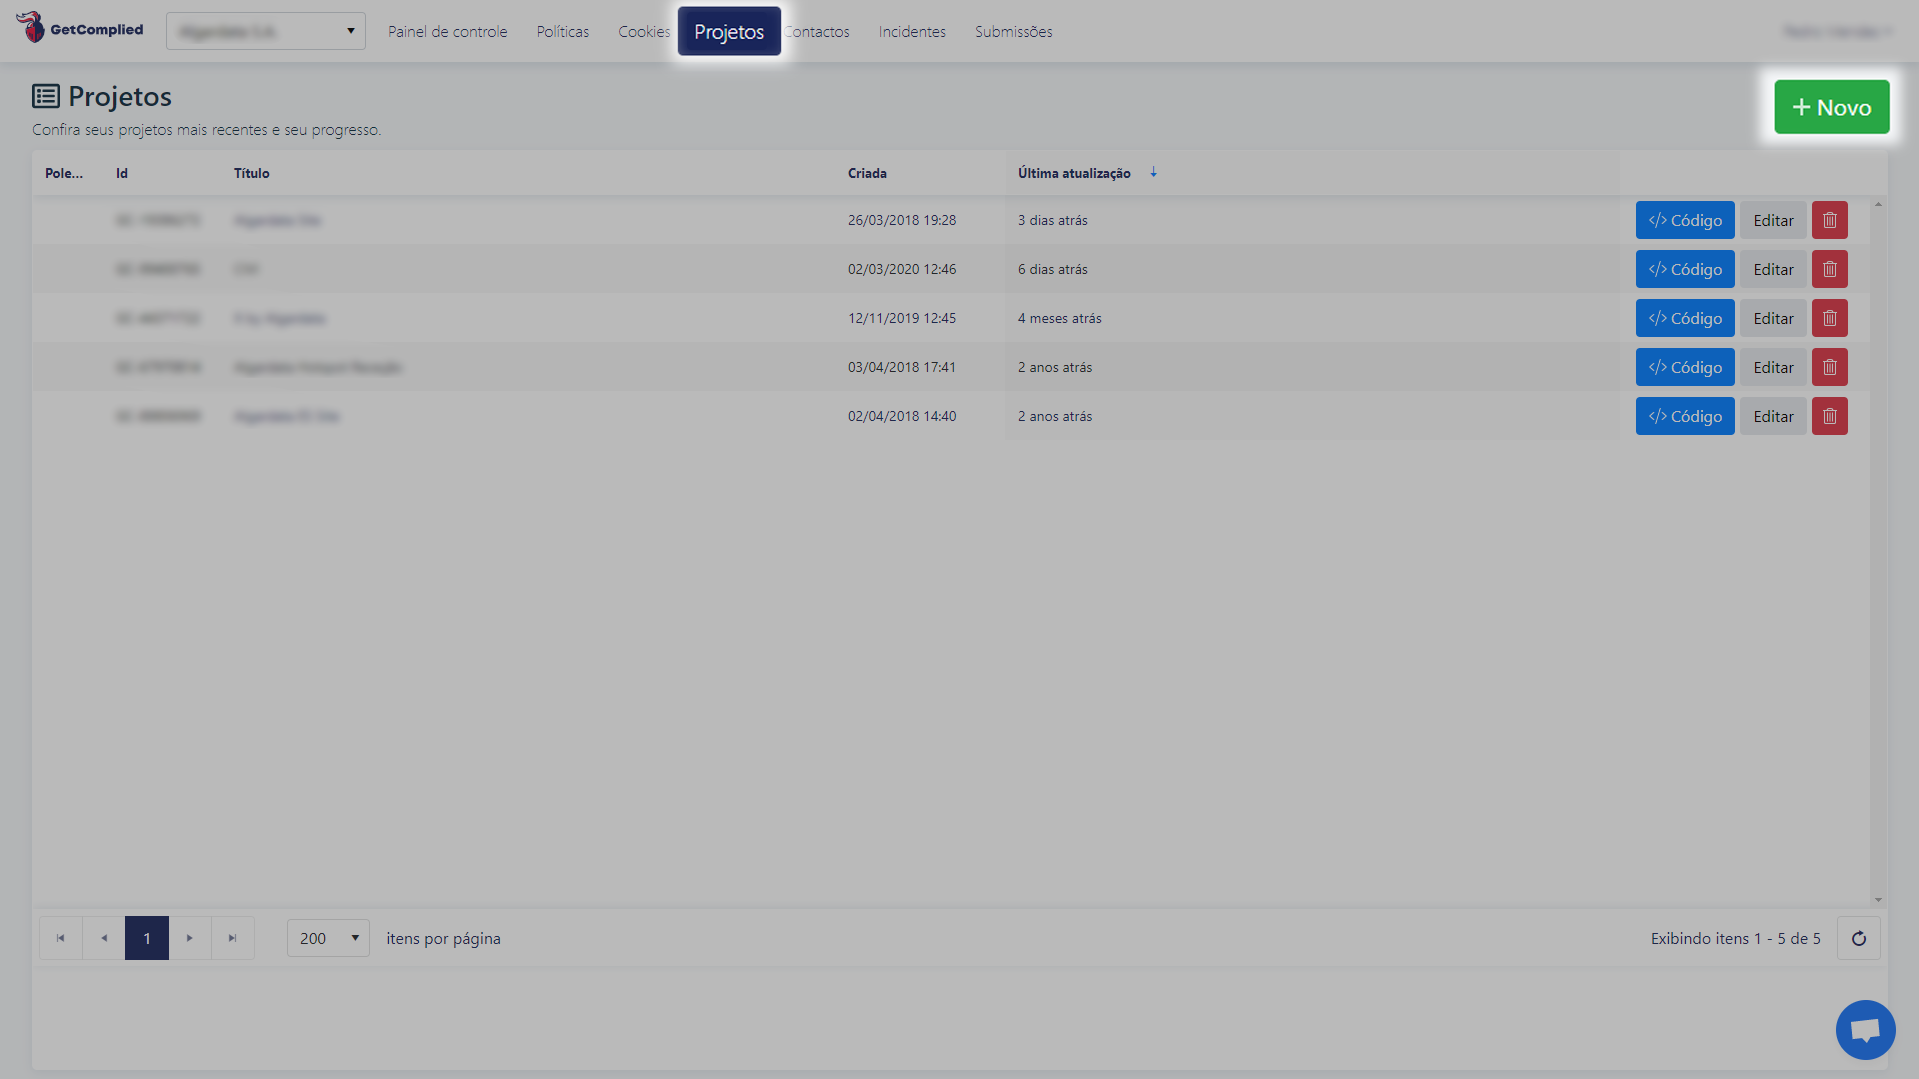
Name your project and click create.
You’re now in the project’s editing mode.
In the info section, you’ll have:
- Company details
- Domain
- DPO and project information areas.
Please note: It’s very important that the domain is correct or you may have problems loading GetComplied’s form on your website. Make sure that the domain (e.g. www.example.com) is added correctly.
In the settings section, you’ll choose:
- The languages in which your website is translated to
- The default language of your website
- The URL for your logo (You can find it on your website by clicking on your company logo and select “Copy Image URL”, then paste it into GetComplied)
- The color in the hex format (e.g. #57BB82)
- And your email to notify you of new cookies on your website
For now, let’s leave the project, click save and close.
Let’s create some content to add, such as policies and cookies.
3 – Create policies and add cookies
Policies
It’s necessary to create some policies and terms to show your customers what they agree on when they give their consent.
If you are unsure of how to write terms and privacy documents, check this sample.
Click the new policy button, choose the document’s name, and the language you want to edit on. Note that when you select more than one language, for example, you want to add French and English, you need to choose French and edit in French, and the same for English. Then choose whether or not consent is required (whether you have to agree to your policies to use the website). Once you have completed editing your policy, click save, publish and close.
Cookies
To add cookies, the process is similar to that of policies.
Click new cookie, choose the name for the cookie, establish whether it’s a session cookie and its duration. Add the purpose of the cookie. For example, “Functionality” for an Asp-Session cookie. If it’s a”required” cookie, select this option. Write a description for your cookie (for more than one language, it’s the same as in policies). Then, click save, publish and close.
If your website starts using more cookies, you’ll be notified by email.
Note: To be notified, you must fill in the email text box in Projects > Edit project > Settings.
4 – Policies, cookies, and platforms
We have created cookies and policies. Now, it’s time to add them to your project. We also need to add third-party platforms that your website may use (e.g. Google Analytics, Google Adwords). GetComplied has over 400 to integrate.
Go back to projects and click edit on the desired project.
Go to Politics and click add.
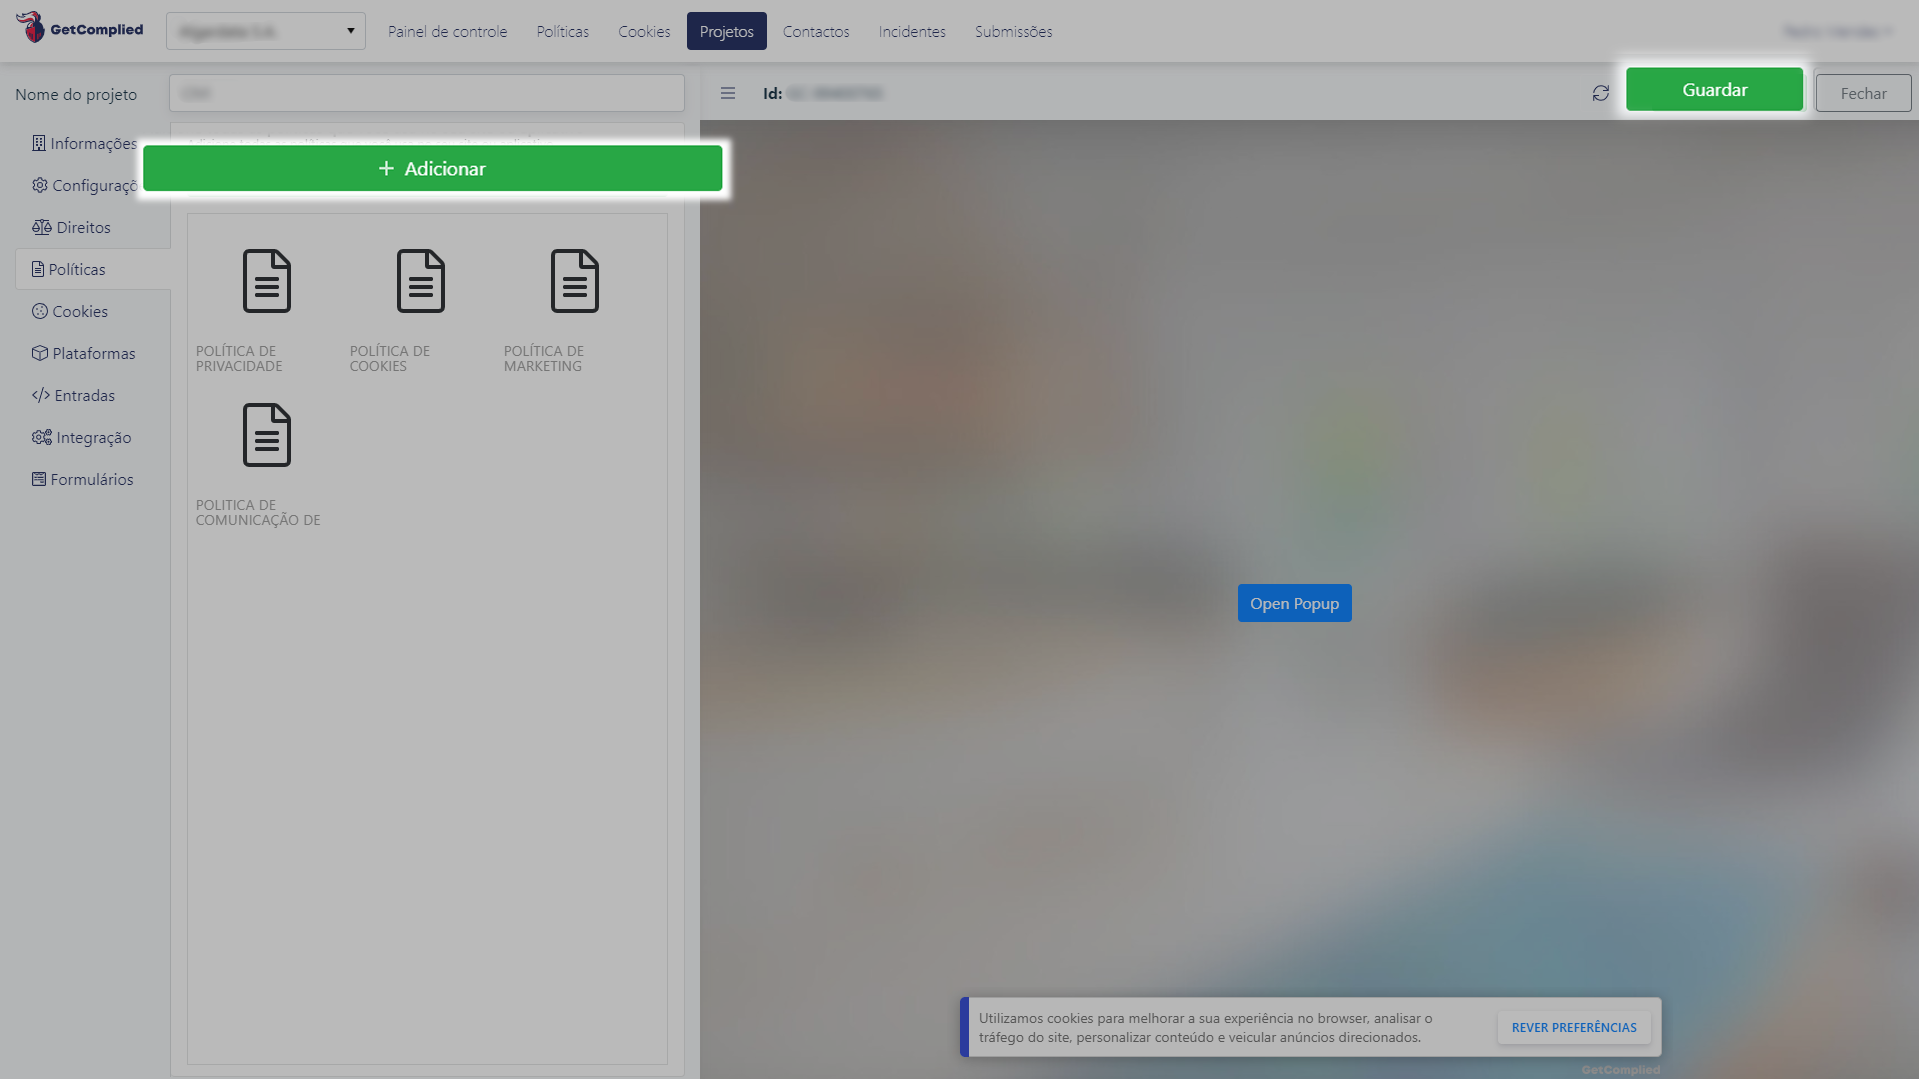
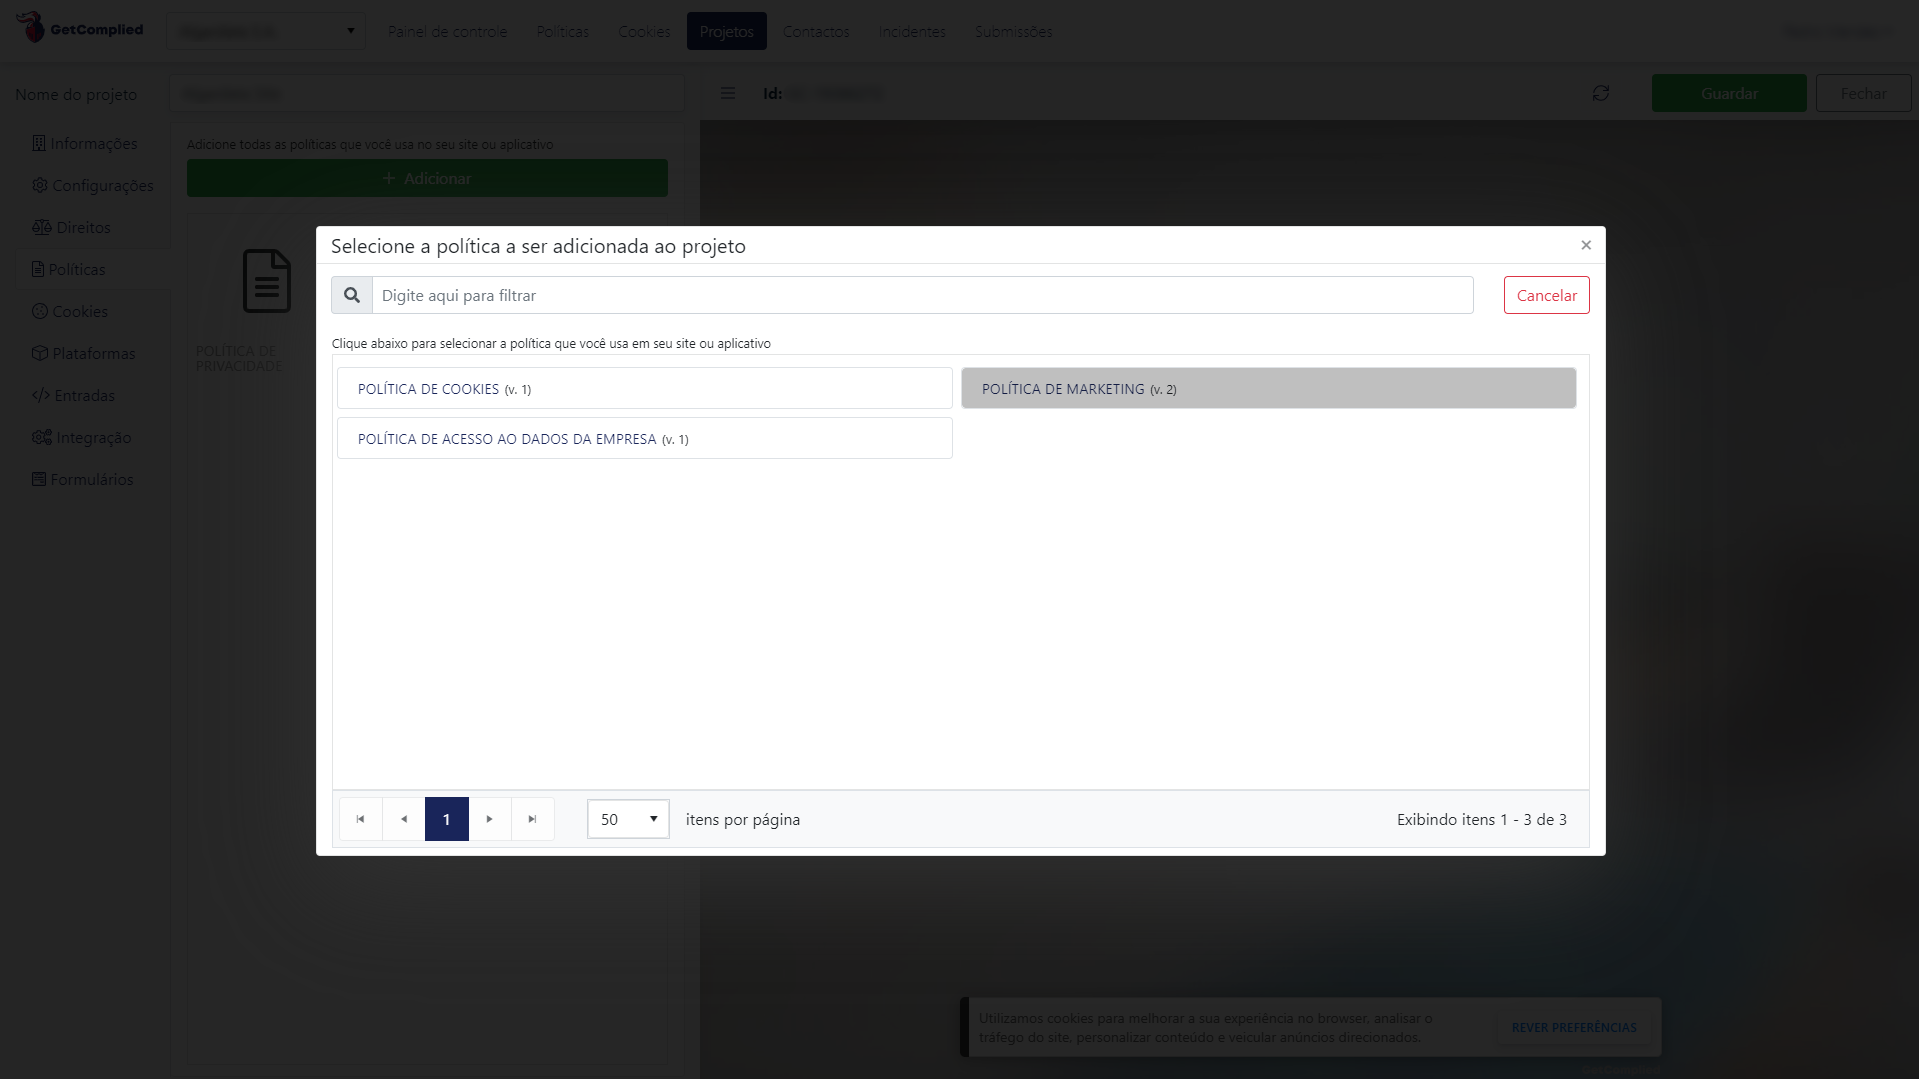
Add all the policies you previously created.
Then the process is the same for cookies.
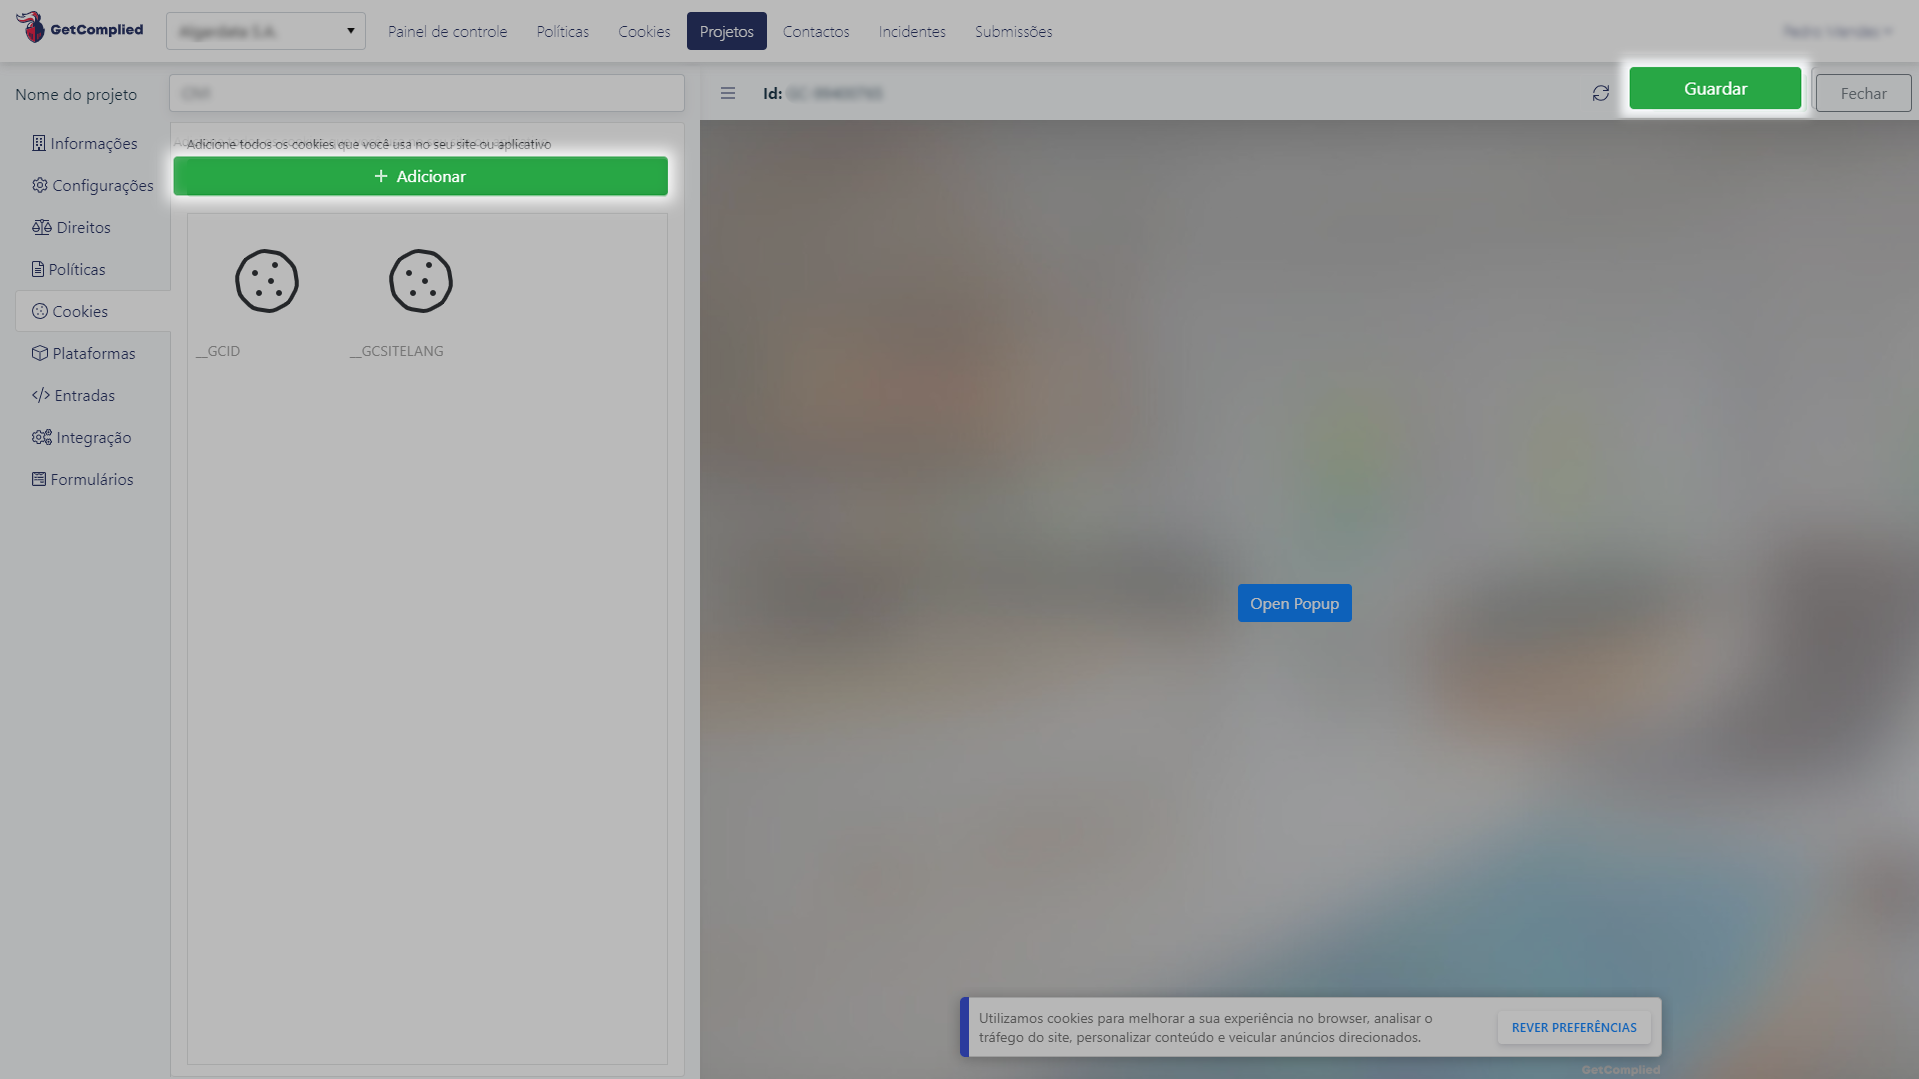
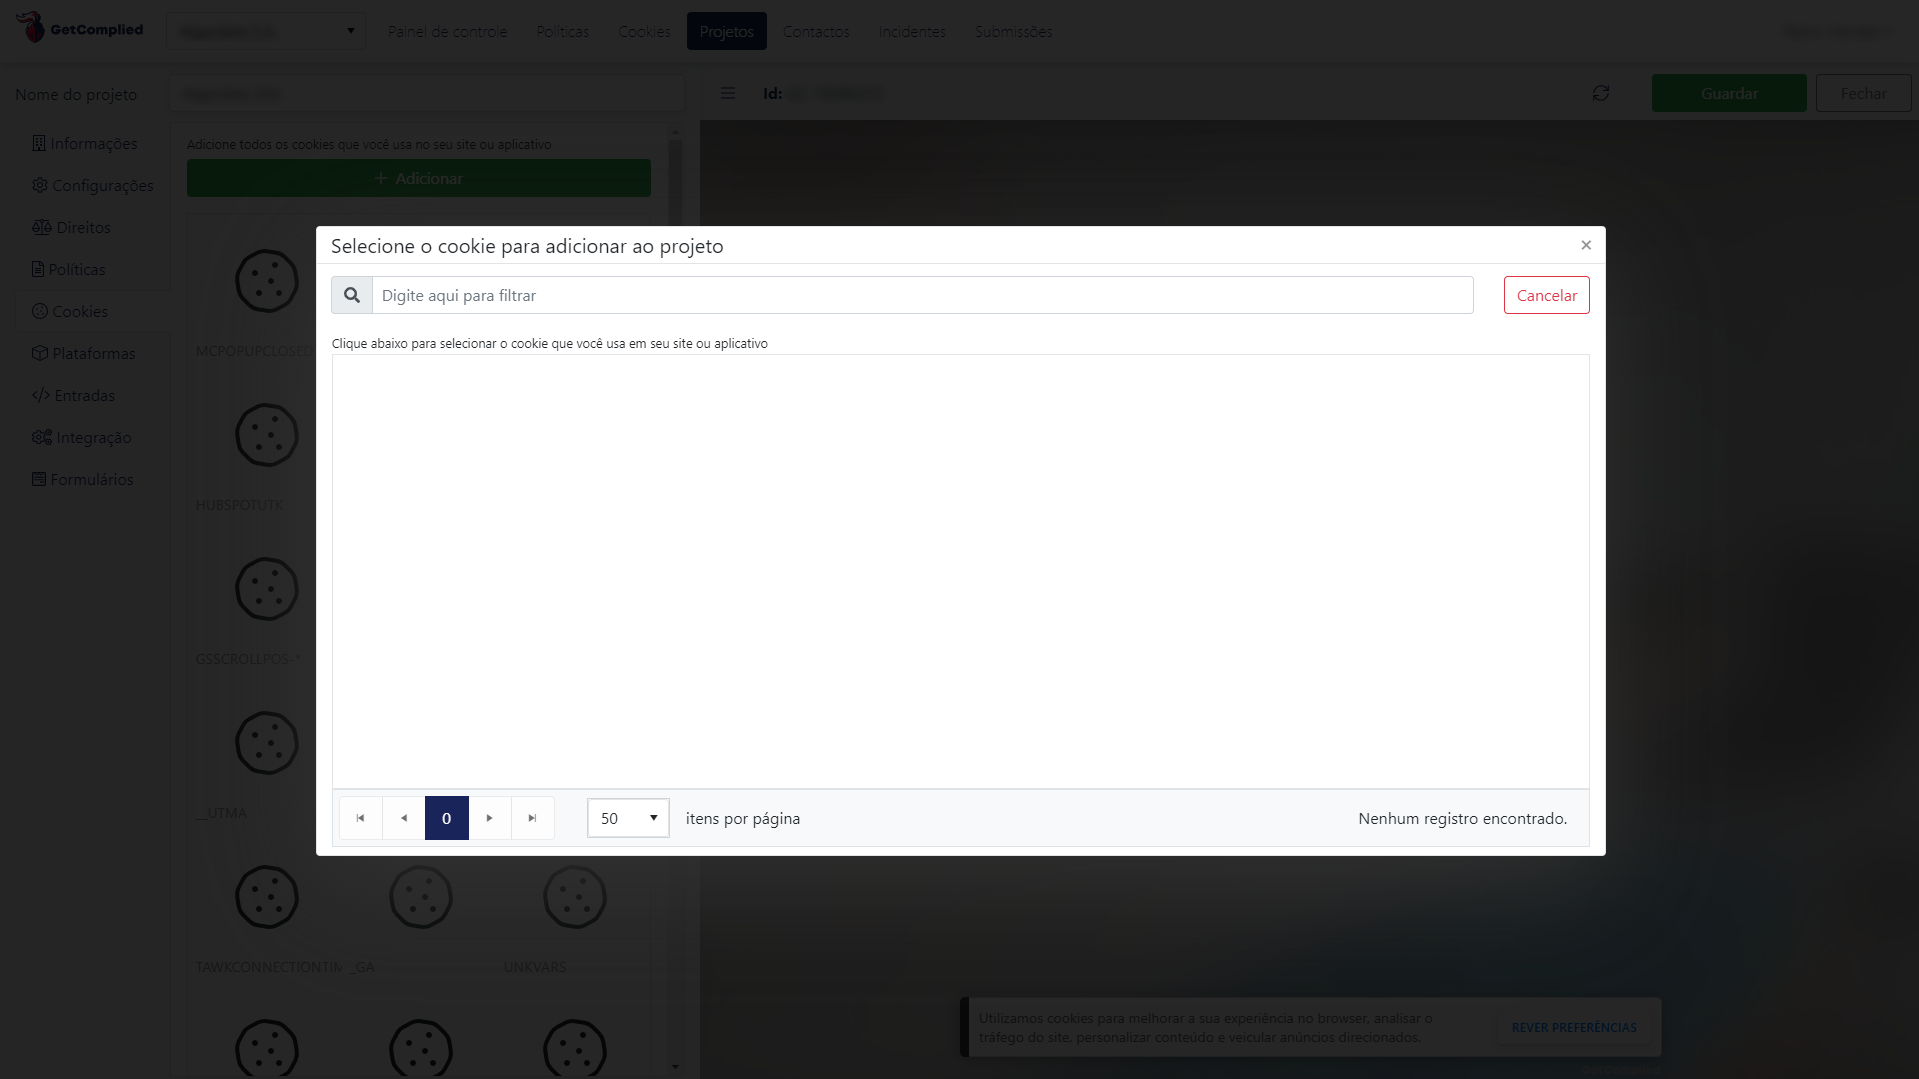
Click add and select the cookies you’ve created.
Now, let’s add the platforms that your website uses. Go to the platforms, click add and choose the ones you use.
The image below shows the Google Services example.
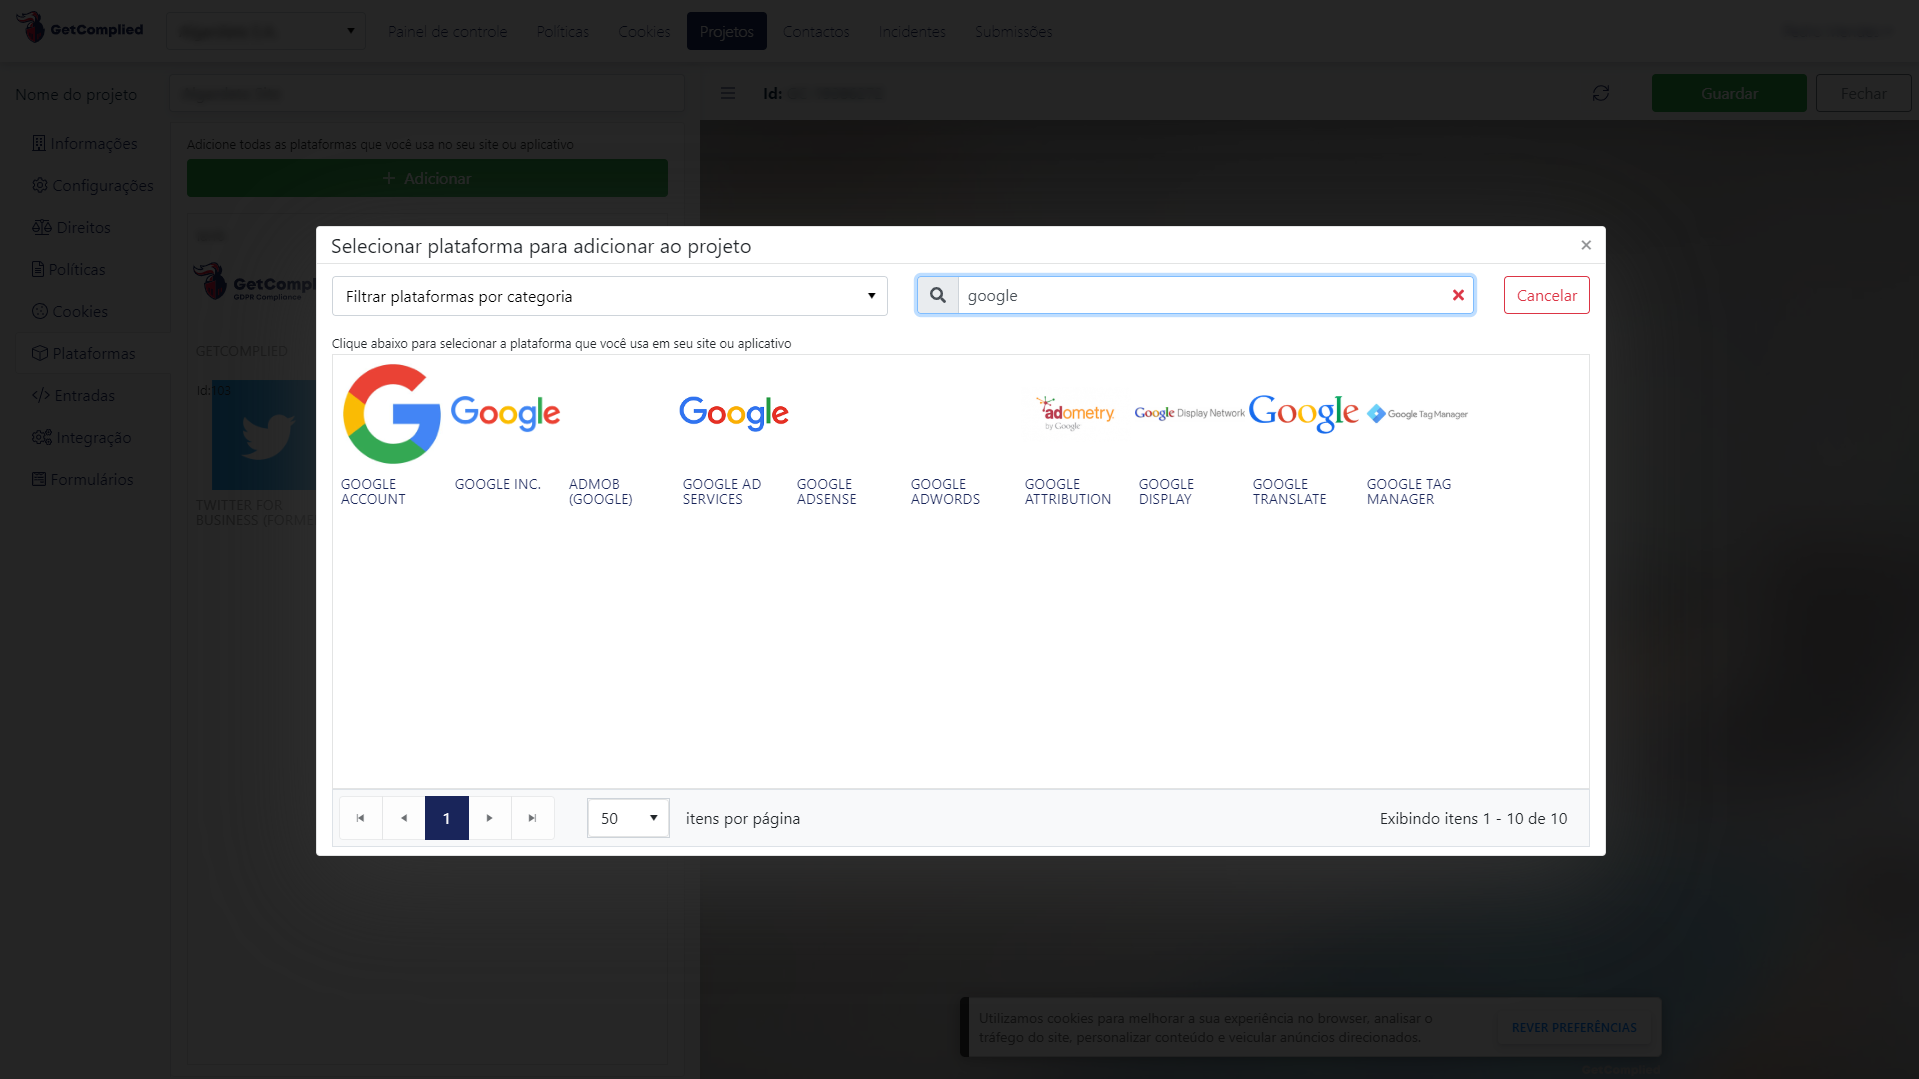
Click Google Services, for example, if you need to add that third party. Now you can save and close your project.
Okay, we’ve added everything the project needs to clearly show the user what he/she will agree on when accepting your cookies and politics.
Now, it’s time to add GetComplied to your website to show your customers your terms, policies, cookies and provide consumer rights.
If you’re a developer, you might want to add the code. You can find it in the project section, in the head section of your website, right after the “<head>”.
Now that you know both ways to comply with the GDPR, it’s easier to understand how GetComplied will help your business and simplify the process of complying with the regulation.
We’ve developed GetComplied to help companies comply with data protection laws and it’s super easy! You can edit your policies, cookies and user rights on one platform!
Following the principles of the GDPR is easier with GetComplied.
Get in touch!
If you have questions or problems, do not hesitate to contact our team via social networks or email: hello@getcomplied.com
We also have a live chat that you can access on the site itself by clicking on the icon in the lower right corner:


?")