Submission forms: the new feature at GetComplied!
Today we are teaching you how to create submission forms that comply with the GDPR.
According to the GDPR, the maximum period to store someone’s resume without the intent of hiring that person is 30 days. So to help companies comply with this regulation we created Submission forms.
Imagine managing 1000 applications and having to remember to delete every resume within 30 days…
With GetComplied’s new feature, you won’t have to worry! It’ll manage them for you and automatically delete the rejected applications.
Note: To have access to this feature you’ll need a Pro account.
Get started
If you’re unfamiliar with GetComplied, first of all, you need to create an account and get started with GetComplied to better understand what we will discuss further in this tutorial.
Start creating forms
Step 1 – Start
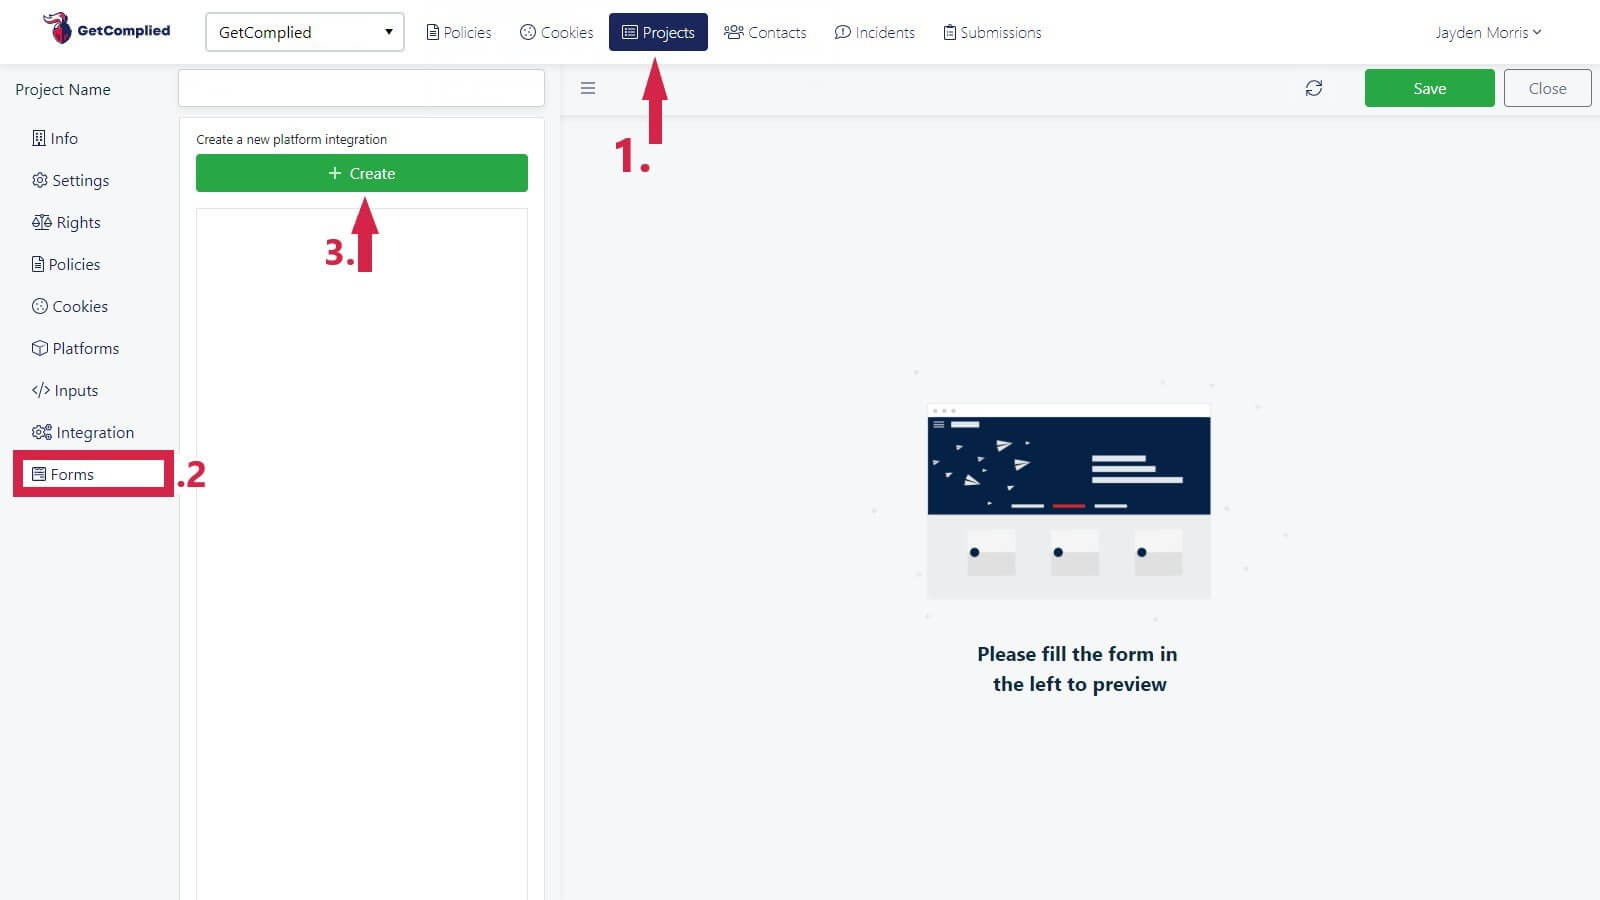
When you login to your account, go to Projects (1) and choose the project you want to create a form in and then click on the edit button.
Then, you’ll see a new option called Forms (2), click on it.
You just have to click on Create (3) to start your new form.
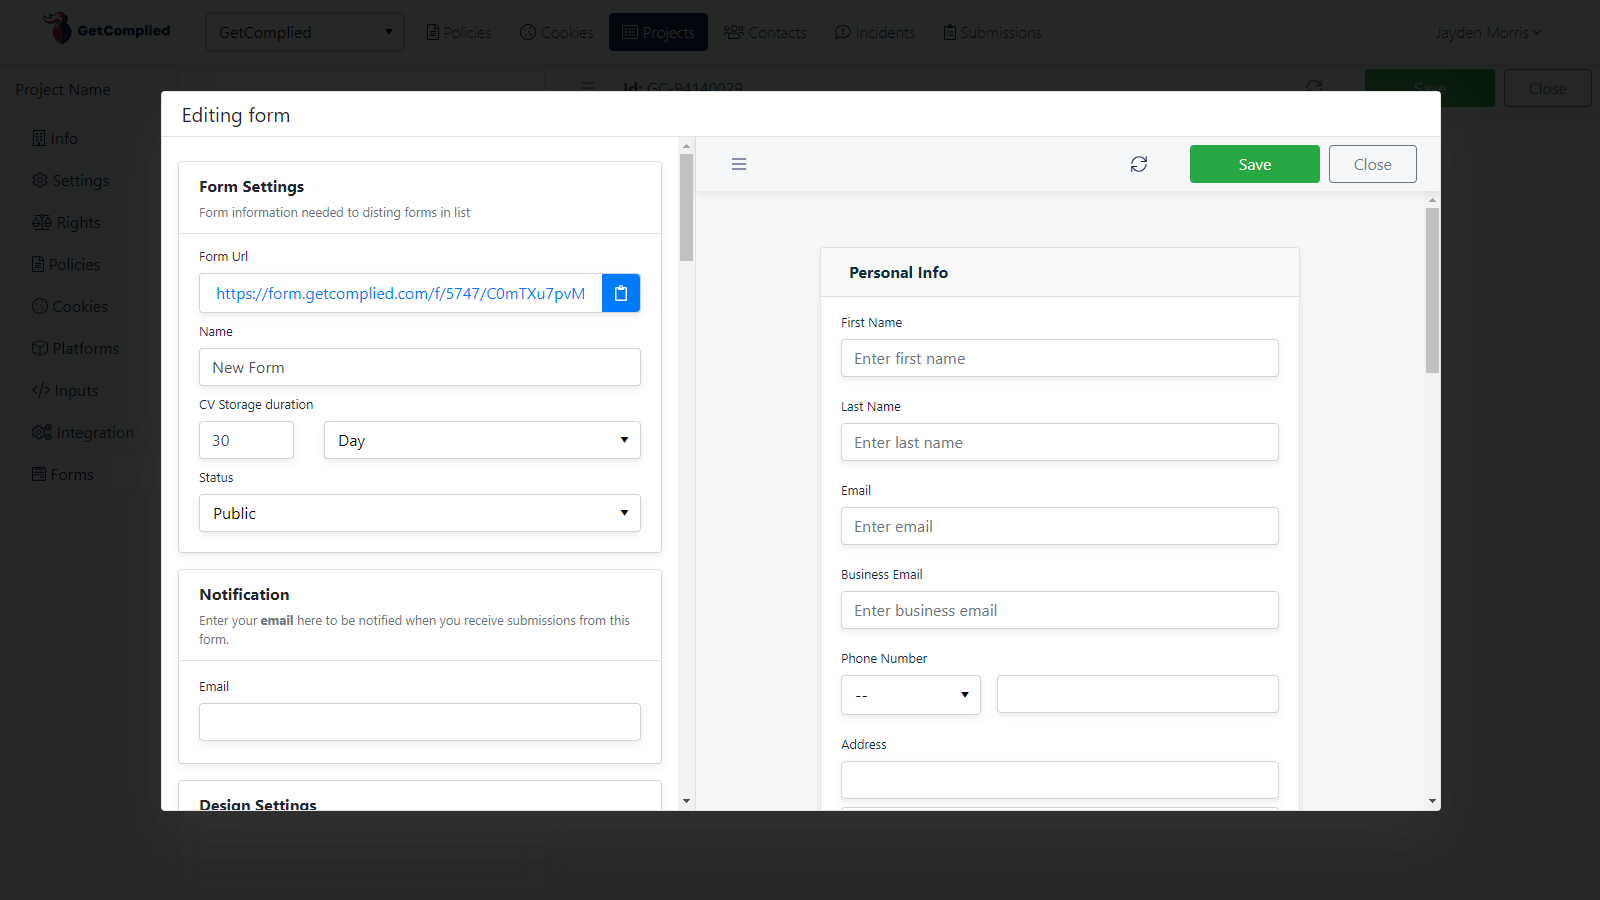
The image above is the panel you see when start editing the new form.
Note: Remember to always save the progress, or you’ll lose the changes you’ve already made.
On the left side we have the options to customize the form and on the right side is the preview of your form.
Next, we’re exploring the options you can customize to adjust the form to your needs.
Step 2 – Customize your form
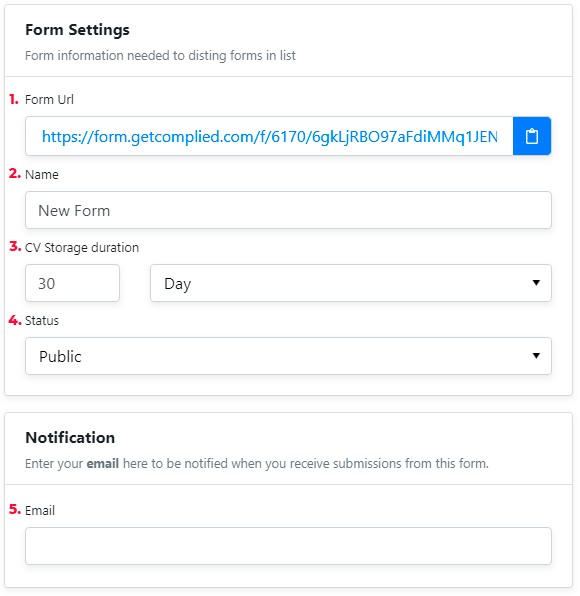
The first section is Form Settings and Notification, where you’ll put the basic information as we explain here:
- Form URL – It’s the link that will make your form available to others. You can also click on that link to test your form.
- Name – It’s your form’s name for identification purposes, that name will only appear on the form section. Example: Application to the financial department
- CV storage duration – It’s the maximum time CV’s will last until they are permanently deleted. The default number of days is 30 days under the GDPR but you can adjust the time.
- Status – It’s where you define if you want your Public or Private. So if you want a public status anyone accessing your website can see the submission form and apply to it. On the private status only you can see it.
- Email – Insert your email here to receive a notification every time someone submits a form so you don’t miss a thing.
Step 3 – Design your form
The next two sections are Design Settings to adapt the form to your website and Title & Description to chose the texts that will go along with the form.
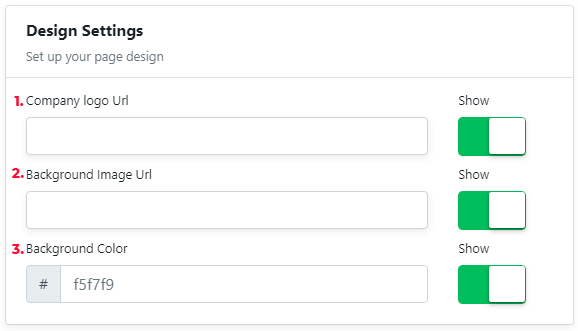
- Company logo URL – You can copy this URL from your website:
- Go to your website and locate your company’s logo
- Click your right mouse button over it
- Select copy the image’s address (this may vary depending on your browser)
- Paste what you just copied to this field
- Background image URL – An image of your choice, same as the logo. Copy the image URL and paste it in the textbox.
- Background color – The color you want the form header to have (it must be in Hex format) Example: #FFC1C1
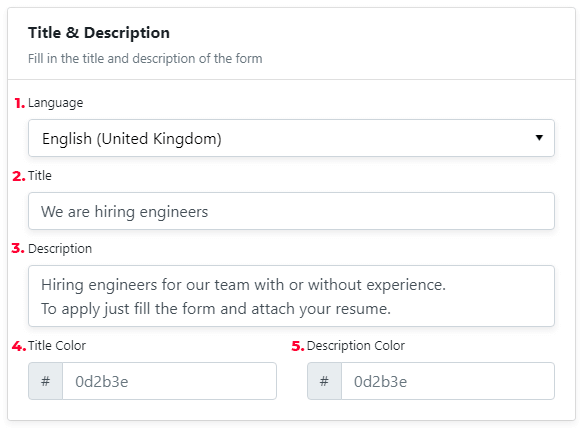
- Language – Select the language(s) you use on your website. To edit multiple languages you have to edit one at a time. Example: Select English and add the English version, select French and add the French version of the text.
- Title – It’s the title you want to appear on the form page. Example: Looking for a financial consultant
- Description – Make a description of the functions that the job applicant will perform and what the company offers.
- Title Color – The title’s color of the form. It must be in Hex format. Example: #FFC1C1
- Description color – The color of the description. It also must be in Hex format. Example: #FFC1C1
Step 4 – Define your message
It’s time to choose if you want to thank the applicant with an automatic message or redirect them to another page.

- Message or Redirect URL – This is what will appear when the user submits the form, he/she can get a message wrote by you or be redirected to another page (past the URL of the page you want).
- Redirect the user to – when you’re editing your form or the form is no longer available, you can set a page to redirect the user trying to access the unpublished form (ex http://www.yourwebsite.com. You should always add the http:// before the link).
Step 5 – Personal information
In the personal info section, you can choose which data you need in the form and if it’s required or not.

Note that you need to choose at least one of the fields with the (1) in front to be a valid form.
To manage the fields you want the candidate (or not) to fill in, just use the green switches.
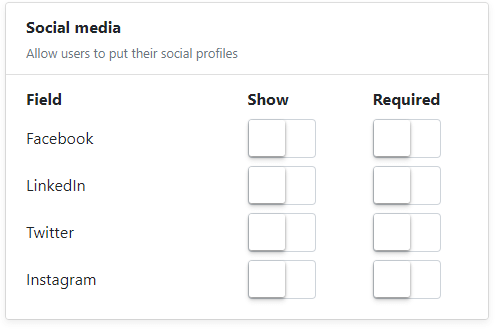
Step 6 – Social Media
In Social Media, you can add a field for the applicant to leave their social media links.
You can also make it a requirement or not, depending on your needs.
Step 7 – Professional experience
The Most recent employment has fields related to the last jobs the applicant worked in.
The fields can be all optional, in case the company is looking for someone without experience.

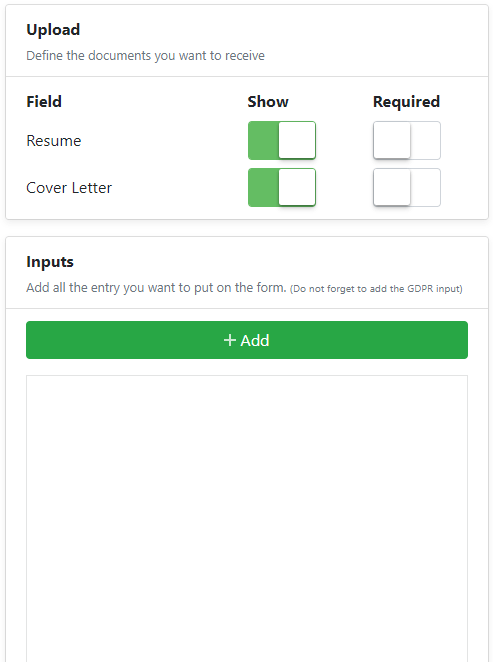
Step 8 – Upload
The upload section is where the applicant will be able to upload his resume and a cover letter. All the documents uploaded will be available at your GetComplied account.
When a user sends his/her resume, the documents are stored in a secure server and automatically deleted after 30 days (or the time period you have chosen above).
There is also an input section, this is where the applicant agrees with the terms and condition, privacy policies and all the policies you have.
After you create one input you can add it here by clicking on the “Add” button.
Step 9 – It’s done, just save it!
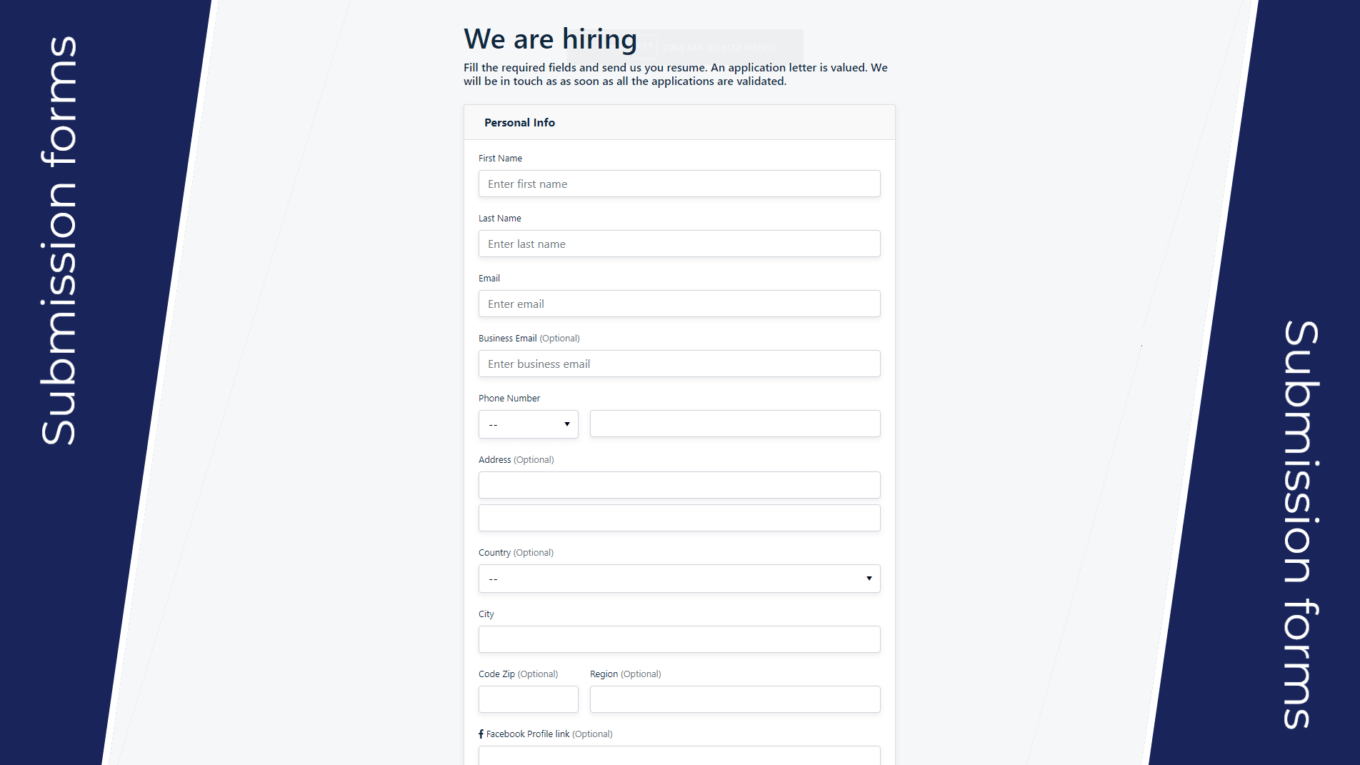
If you did everything correctly you should now “Save” and test your submission form by clicking on the first link on the options section.
You should now have a form like the one shown below.
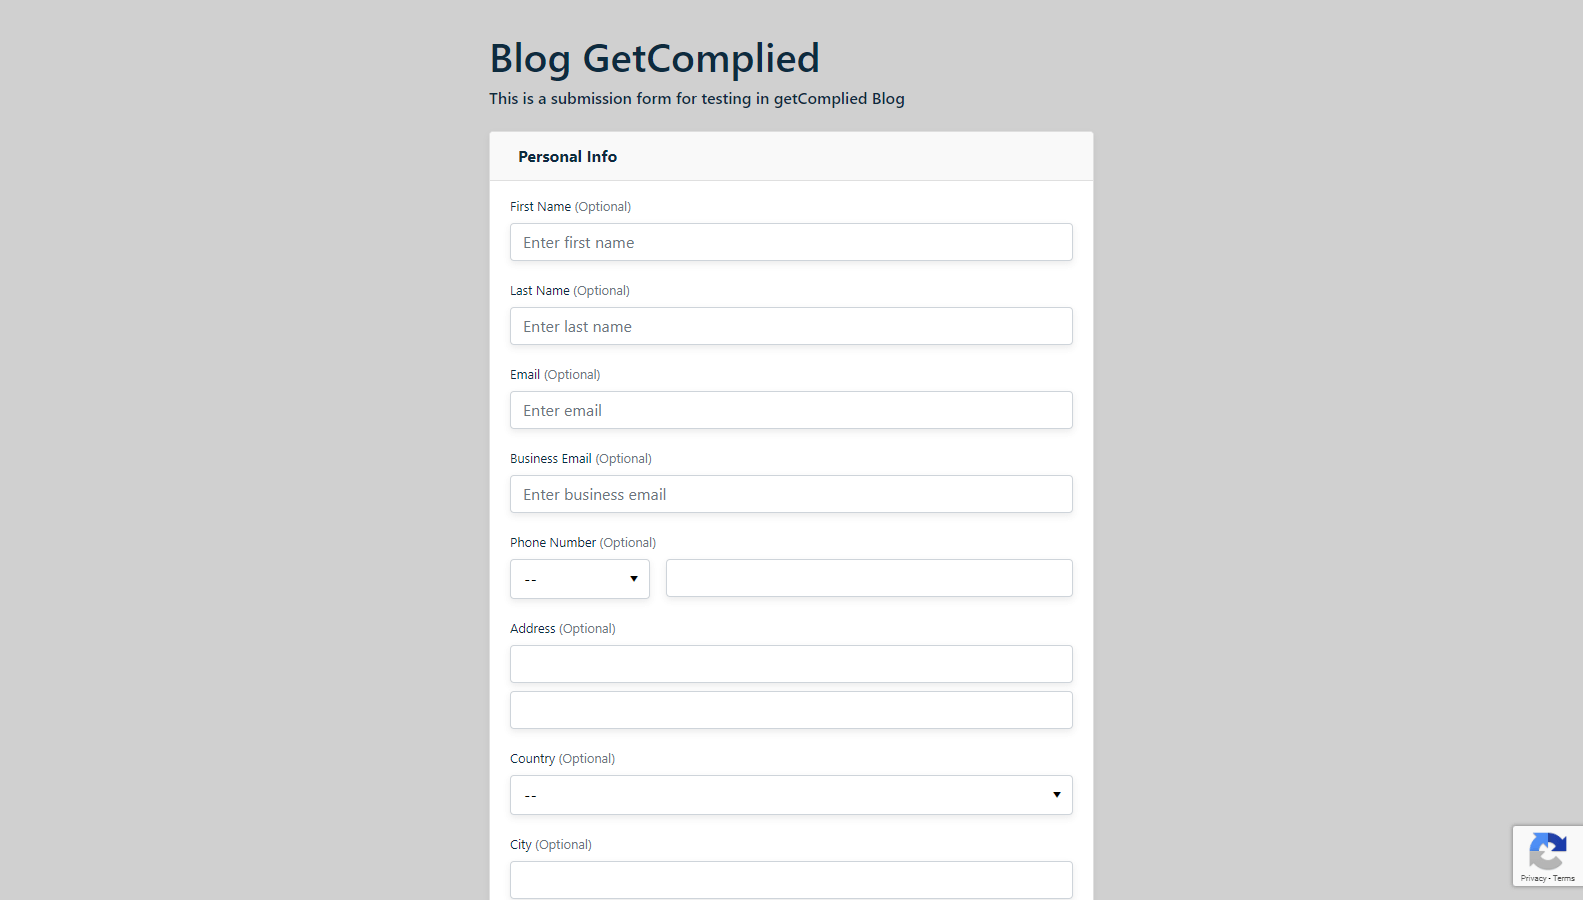
That’s it! You are now a pro in submission forms that comply with the GDPR. Now your company can start receiving applications, managed by your GetComplied account.
It does not only manage the time resumes can be stored, but it also stores the documents in a secure server.
Watch the tutorial
If you need help!
We have a youtube channel and other tutorials that might be useful.
Also, if you still have any doubts about how to become a partner, make sure you contact us either on social media or email hello@getcomplied.com
We also have a live chat you can use anytime with this icon on the bottom right corner:


?")